


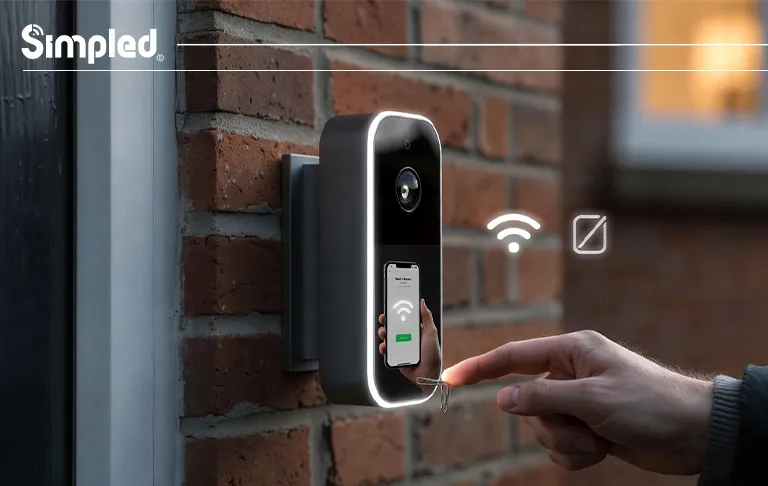
Smart video doorbells have become a familiar sight on UK homes. They add convenience, improve security, and help you keep an eye on deliveries and visitors. But there comes a time when you may need to remove one—whether you’re upgrading to a newer model, moving house, troubleshooting an issue, or simply carrying out maintenance.
If you’re wondering how to remove doorbell camera safely without damaging your wall, wiring, or device, you’re in the right place.
This guide walks you through everything you need to know—from preparation and tools to step-by-step removal instructions, common mistakes to avoid, and what to do after removal. It’s written for real homes, not idealised manuals, and reflects the realities of UK installations.
Why You Might Need to Remove a Doorbell Camera
Before diving into tools and screws, it’s worth understanding why people usually search for how to remove a doorbell camera.
Common scenarios include:
Replacing an old or faulty video doorbell
Moving home and taking the device with you
Switching from a wired to a battery-powered model (or vice versa)
Repainting or repairing the door frame or exterior wall
Resetting or troubleshooting connection issues
Upgrading to a more advanced or UK-specific doorbell system
Whatever the reason, removing a doorbell camera correctly matters. Rushing the process can damage wiring, crack brickwork, or even permanently affect the device.
Before You Start: Essential Safety Checks
Removing a doorbell camera isn’t difficult, but preparation makes all the difference.
Turn Off the Power (For Wired Doorbells)
If your video doorbell is wired into your existing doorbell circuit:
Switch off the power at the consumer unit (fuse box)
Confirm power is off by pressing the doorbell—no sound or light should appear
This step is especially important in older UK homes where wiring may not be clearly labelled.
Expert tip: Even low-voltage doorbell wiring can cause damage to the device if shorted during removal.
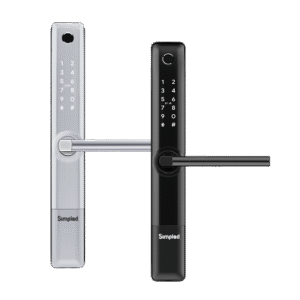
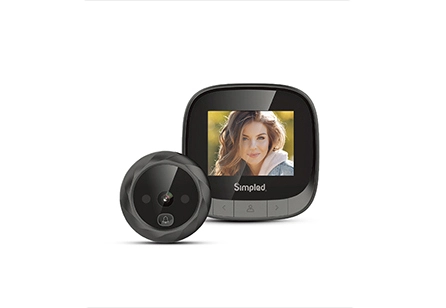
Simpled offers a range of door viewer products. To learn more about the features and prices, you can visit the Digital Door Viewers page.
Gather the Right Tools
Most doorbell cameras only need basic tools:
Small flathead or Phillips screwdriver
Security screwdriver (often supplied with the doorbell)
Allen key (for some models)
Needle-nose pliers (optional)
Soft cloth or towel (to protect the device once removed)
Having everything to hand avoids unnecessary strain on screws or clips.
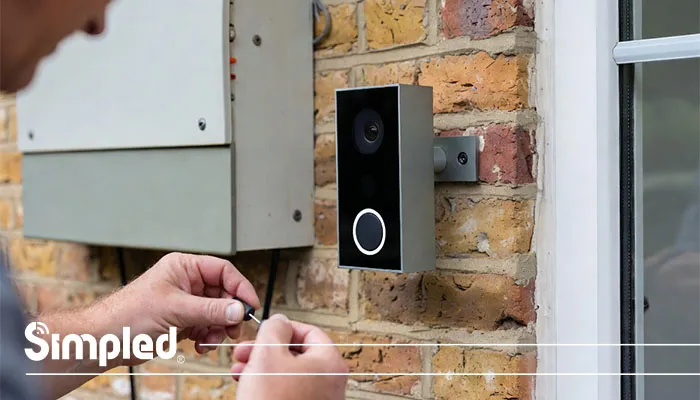
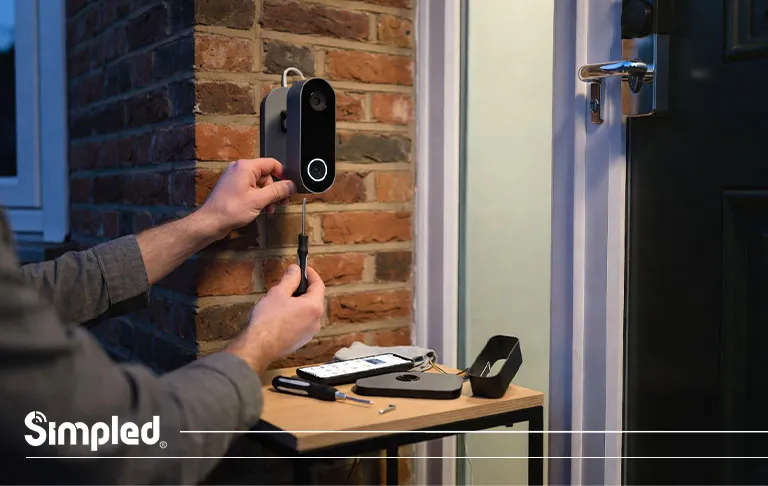
Step-by-Step: How to Remove a Doorbell Camera
Step 1: Locate the Security Screw or Release Mechanism
Most modern video doorbells are designed to prevent theft, so they won’t simply slide off.
Look for:
A small security screw at the bottom or side
A hidden release slot requiring a pin or flat tool
This is the first step in how to take a doorbell camera off safely.
Common mistake: Using excessive force before releasing the lock—this can snap mounting clips.
Step 2: Unscrew or Unlock the Faceplate
Carefully:
Insert the correct screwdriver or tool
Turn anti-clockwise until the screw loosens (it may not fully come out)
Keep the screw somewhere safe—it’s easy to lose
Once released, gently pull or lift the doorbell camera away from the mounting bracket.
Step 3: How to Remove Battery from Doorbell Camera (If Applicable)
If your device is battery-powered:
Open the battery compartment (usually on the back or underside)
Slide the battery out gently
Avoid touching the contacts with metal tools
Knowing how to remove battery from doorbell camera correctly prevents damage and helps preserve battery health.
Best practice: Store batteries indoors at room temperature if the doorbell won’t be used for a while.
Step 4: Disconnect the Wiring (For Wired Models)
If your doorbell is wired:
Note which wire goes where (a quick photo helps)
Loosen terminal screws carefully
Pull wires free gently—never yank
Once disconnected, cap the wires or tape them to prevent them falling back into the wall.
Step 5: Remove the Mounting Bracket
Now that the device is off:
Unscrew the mounting plate from the wall
For brick or masonry walls, pull wall plugs out gently using pliers
For wooden frames, check for splintering
This completes the physical process of how to remove a video doorbell entirely.
Common Mistakes to Avoid When Removing a Doorbell Camera
Even experienced DIYers can slip up. Here are the most common errors:
❌ Forgetting to turn off power
❌ Using the wrong screwdriver and stripping screws
❌ Pulling the doorbell off without unlocking it
❌ Letting exposed wires fall into the wall
❌ Losing security screws needed for reinstallation
Taking your time avoids costly repairs or replacements.
UK-Specific Considerations for Doorbell Removal
UK homes often differ from those in the US or Europe, and that affects removal.
Brick and Rendered Walls
Wall plugs may be tight
Avoid twisting screws at an angle
Fill holes properly if you’re not reinstalling
Multi-Occupancy or Rental Properties
Check landlord or building management rules
Keep all original components
Avoid permanent modifications
Older Doorbell Wiring
Wiring colours may not match modern guides
Voltage may vary slightly
When unsure, consult an electrician
What to Do After Removing a Doorbell Camera
Once removed, your next steps matter.
If You’re Reinstalling or Upgrading
Clean the wall surface
Check wiring condition
Ensure firmware is updated before reinstalling
This is often a good moment to upgrade to a more reliable, UK-optimised doorbell system.
Brand perspective: At Simpled, we design doorbell cameras with clean removal and reinstallation in mind—no fragile clips, no unnecessary complexity.
If You’re Leaving the Property
Restore a standard doorbell if required
Fill screw holes neatly
Remove the device from your app to protect privacy

When You Should Consider Professional Help
While most removals are DIY-friendly, call a professional if:
Wiring looks damaged or unsafe
The doorbell is connected to a complex chime system
The device is integrated with other security hardware
Conclusion: Removing a Doorbell Camera Doesn’t Have to Be Complicated
Knowing how to remove a doorbell camera properly saves time, prevents damage, and protects your investment. With the right tools, a careful approach, and an understanding of your specific setup, the process is straightforward—even for first-timers.
Whether you’re upgrading, moving, or maintaining your system, treating removal as carefully as installation ensures your smart home setup stays flexible, secure, and future-ready.


Leave a Reply