
For many homeowners, smart home setups feel overwhelming—multiple apps, compatibility issues, and complex installations. Apple HomeKit solves these problems by offering a unified, secure, and incredibly user-friendly platform.
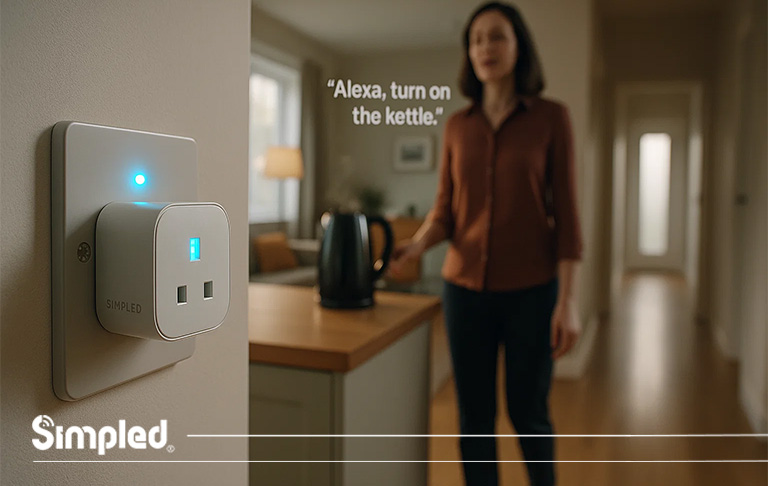
Imagine controlling your smart lock, lights, thermostat, and cameras directly from the Home app—or using Siri to manage your entire home with a single voice command. Everything is encrypted, intuitive, and works beautifully across your Apple devices. That’s the promise of HomeKit.
Before you begin, all you need is:
✔ An iPhone or iPad
✔ A HomeKit-compatible device
✔ A stable Wi-Fi connection
✔ An Apple TV, HomePod, or iPad for remote access (optional but recommended)
Now let’s get started.
What You Need Before Setting Up Apple HomeKit
Setting up HomeKit successfully begins with preparing the right environment. Skipping this step is the most common reason devices fail to connect.
1. Update Your Apple Devices
Make sure your iPhone or iPad is updated to the latest iOS version.
This ensures compatibility and security, especially for newer smart home accessories.
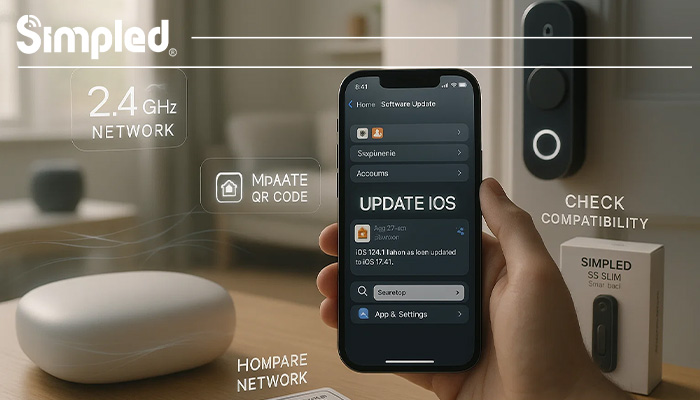
2. Prepare Your Wi-Fi Network
Apple HomeKit works best with:
- 2.4GHz Wi-Fi (most smart devices use this)
- A stable signal (avoid setting up too far from the router)
- A simple Wi-Fi name—avoid unusual characters like %, &, or emojis
Expert Tip:
If your router supports both 2.4GHz and 5GHz on the same SSID, temporarily disable the 5GHz band during setup to prevent connection conflicts.
3. Confirm Your Device Supports HomeKit
Look for one of these indicators:
- “Works with Apple HomeKit” badge
- A HomeKit QR code or pairing label
- Mention of HomeKit in the product manual
If you’re planning to connect a smart lock, check whether the model supports HomeKit directly or via Bluetooth + Home Hub.
How to Set Up Apple HomeKit (Step-by-Step)
Step 1 — Open the Home App
Every Apple device includes the Home app by default.
Open it and choose Set Up New Home if this is your first time.
You can create multiple homes (e.g., flat + office), but your primary residence should always be the default Home.
Step 2 — Add Your First HomeKit Accessory
This is where HomeKit truly shines—it only takes a few seconds.
How to Add a HomeKit Device
- Open the Home app
- Tap the + icon
- Select Add Accessory
- Scan the HomeKit QR code on the device or its packaging
- Follow the on-screen instructions
- Assign the device to a room
- Name the device clearly (e.g., “Hallway Light” or “Front Door Lock”)
Naming matters: Siri uses these names for voice commands.
Example:
“Hey Siri, lock the front door.”
“Hey Siri, turn on the living room lamp.”
Step 3 — Organise Your Rooms and Zones
A clean structure makes managing multiple devices much easier.
Rooms
Assign accessories to rooms such as:
- Living Room
- Kitchen
- Bedroom
- Hallway
- Garden
Zones
Group multiple rooms into zones such as:
- Upstairs
- Downstairs
- Outdoor
Example Siri Commands:
“Hey Siri, turn off everything upstairs.”
“Hey Siri, lock all doors.”
Step 4 — Create Scenes for One-Tap Control
Scenes let you control multiple devices simultaneously.
Popular HomeKit Scenes
✔ Good Morning — open blinds, turn on lights, adjust heating
✔ Leaving Home — turn off lights, lock doors, activate cameras
✔ Movie Night — dim lights, lower blinds, lock the front door
✔ Good Night — lock all digital door locks, turn off lights, lower temperature
Expert Tip:
Use natural names so Siri understands your commands with fewer mistakes.
Step 5 — Create Home Automations
Automations trigger actions automatically based on conditions.
Useful Automations
People Arrive:
- Unlock the smart lock
- Turn on hallway lights
People Leave:
- Lock doors
- Switch off all lights
- Enable cameras
Time of Day:
- Turn on outdoor lights at sunset
- Adjust thermostat at bedtime
When a Sensor Detects Motion:
- Turn on lights automatically in dark hallways
- Trigger recording from HomeKit Secure Video cameras
Note:
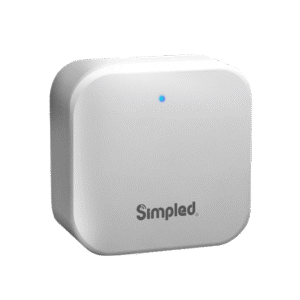
HomeKit automations require a Home Hub (HomePod, HomePod mini, Apple TV, or iPad).
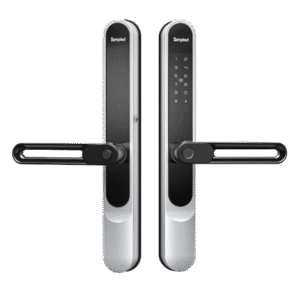
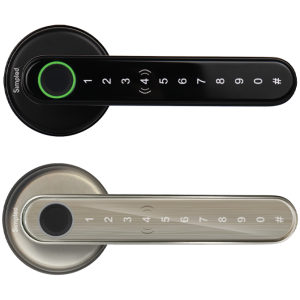
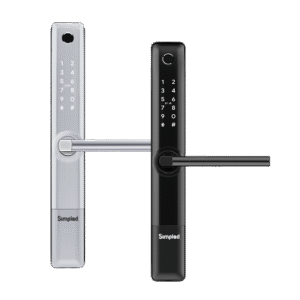
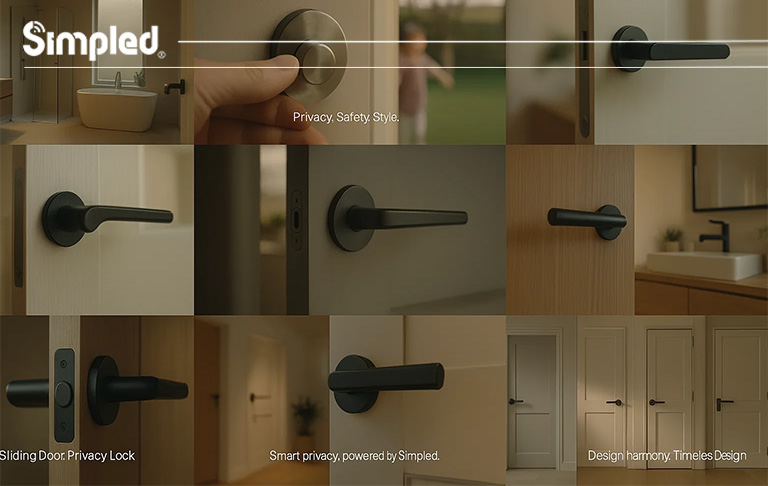
How to Connect a Smart Lock to Apple HomeKit
Smart locks are one of the most popular HomeKit integrations since they enhance both security and convenience.
Below is a universal guide suitable for most HomeKit-compatible smart locks.
Step-by-Step Setup
- Install the smart lock on your door following the manufacturer’s instructions
- Ensure Bluetooth or Wi-Fi connectivity is enabled
- Open the Home app
- Tap Add Accessory
- Scan the HomeKit code (usually inside the battery cover)
- Assign it to a door (e.g., Front Door, Back Door)
- Enable remote access through your Home Hub
Once added, you can lock/unlock via:
- Siri
- Home app
- Automations
- Location-based triggers
Real Example:
“Hey Siri, lock the front door.”
“Hey Siri, is my door locked?”

Common HomeKit Setup Problems and How to Fix Them
1. HomeKit Accessory Not Responding
Try the following:
- Restart the device
- Move closer to your router or Home Hub
- Reset the accessory and re-add it
2. QR Code Won’t Scan
Use these alternative methods:
- Tap “More Options” in the Home app
- Enter the 8-digit HomeKit setup code manually
3. Device Shows “No Response” in Home App
This is often Wi-Fi related.
- Power-cycle your router
- Ensure 2.4GHz is active
- Avoid VPNs on iPhone during setup
4. Siri Doesn’t Recognise Voice Commands
Try:
- Renaming devices more clearly
- Re-training Personal Requests
- Reducing background noise
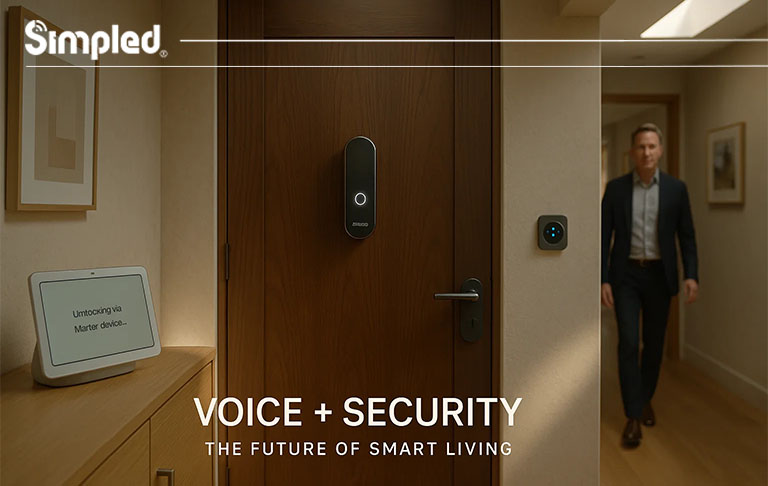
Why Use Apple HomeKit for Smart Locks and Security?
HomeKit is considered one of the safest smart home ecosystems thanks to its advanced security standards.
Built-in Encryption
All communication between your smart lock and Home app is end-to-end encrypted.
Local Processing
Most commands are processed on your device, not the cloud—reducing hacking risks.
Seamless Integration with Apple Devices
Use Siri on your iPhone, Apple Watch, or HomePod to manage your home from anywhere.
Expert Tips for a Seamless HomeKit Setup
✔ Stick to high-quality, reputable brands
✔ Use strong Wi-Fi with stable coverage
✔ Keep device names short and logical
✔ Set up scenes early for easier control
✔ Create automations that simplify everyday routines
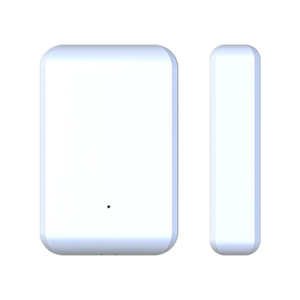
If you’re setting up smart locks or security accessories, consider adding motion sensors, contact sensors, or cameras for more powerful automations.
Final Thoughts
Setting up Apple HomeKit is straightforward, but doing it properly helps you build a stable, secure, and effortless smart home ecosystem. From connecting your first accessory to integrating smart locks and advanced automations, every step adds more convenience to your daily life.
Whether you’re upgrading your home security, improving energy efficiency, or creating a fully connected living space, HomeKit gives you a solid foundation that works beautifully with your Apple devices.
FAQs
1. How do I set up Apple HomeKit for the first time?
Open the Home app, tap Add Accessory, scan the HomeKit code, and follow the setup steps.
2. Do I need Wi-Fi to use HomeKit?
Yes, most accessories need Wi-Fi and a Home Hub for remote access.
3. How do I connect a smart lock to Apple HomeKit?
Install the lock, open the Home app, scan the setup code, and assign it to a door.
4. Why is my HomeKit device not responding?
Weak Wi-Fi, Bluetooth range issues, or outdated software are common causes.
5. Can I control HomeKit from outside my home?
Yes—use a HomePod, Apple TV, or iPad as your Home Hub.


Leave a Reply