


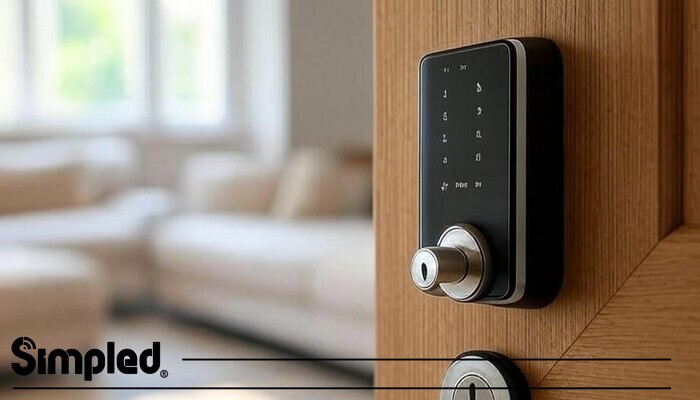
Smart locks have revolutionized home security, offering convenience, enhanced safety, and seamless integration with smart home systems. If you’re thinking about upgrading your front door with a smart door lock, you’re in the right place. This guide will walk you through each step of How to Install Smart Locks while providing some important insights into software options, tools, and tips to ensure a flawless experience.
Step 1: Gather Your Tools and Read the Manual
Before diving into the installation, it’s crucial to gather all the tools and familiarize yourself with the smart lock’s components. Having everything you need on hand will save you time and effort.
Essential Tools for Smart Lock Installation
Here’s a list of the basic tools you’ll need for the installation:
-
Screwdrivers (Phillips and flathead): For removing screws and attaching components.
-
Measuring tape: To ensure the lock is properly aligned.
-
Drill: In case new holes need to be made.
-
Level: To ensure the lock is mounted correctly.
-
Spindle or Adapter: Depending on your door’s lock type. If the spindle doesn’t fit, you can use a standard 8mm spindle from any hardware store.
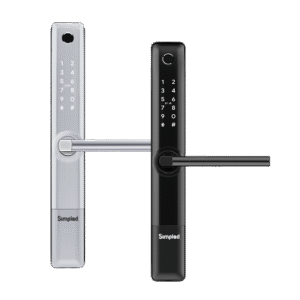
Understanding Your Smart Lock’s Components
Each smart lock has different parts, but generally, you will find:
-
Outer Housing (attaches to the outside of the door),
-
Inner Housing (attaches to the inside),
-
Deadbolt or Latch Mechanism (ensures the door is secure),
-
Batteries and screws for the lock.
Before starting, make sure to read the manual to familiarize yourself with these components.
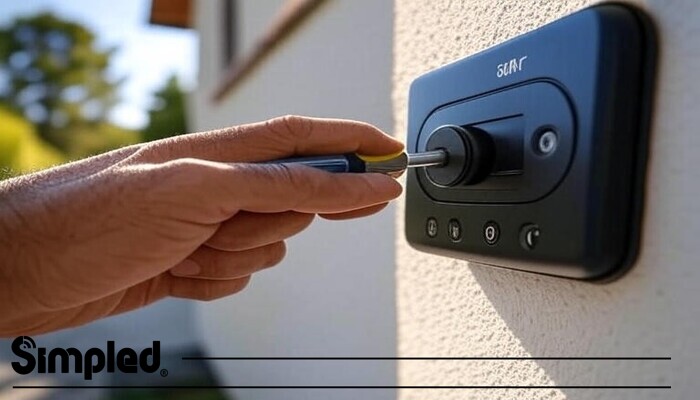
Step 2: Remove Your Existing Lock
You’ll need to remove your old lock before you can install the smart lock. Whether it’s a traditional deadbolt or a more complex system, the steps are similar.
Removing a Traditional Deadbolt
To remove a traditional deadbolt, unscrew the interior and exterior components of the lock. After removing the screws, pull out the lock mechanism. If necessary, use a drill to loosen any stubborn screws.
Handling UK Multipoint Locks
If you have a multipoint lock system on your door (common for uPVC doors in the UK), removing it will be a bit more involved. You will need to unscrew the handle and central locking mechanism. The process can vary, so consult the manual for compatibility with the smart lock.
Step 3: Prepare the Door for the Smart Lock
With the old lock removed, you need to prepare your door to install the new smart lock. Proper preparation ensures that everything aligns correctly.
Measuring and Aligning the Lock
Take measurements to determine where the smart lock will go. Use a measuring tape to ensure the lock’s deadbolt mechanism aligns with the existing holes. In some cases, slight adjustments may be necessary.
Adjusting for Door Thickness
Smart locks are designed for standard door thicknesses, but in some cases, you might need to make adjustments. If your door is thicker or thinner than usual, you might need to trim parts of the lock or use spacers to ensure a secure fit.
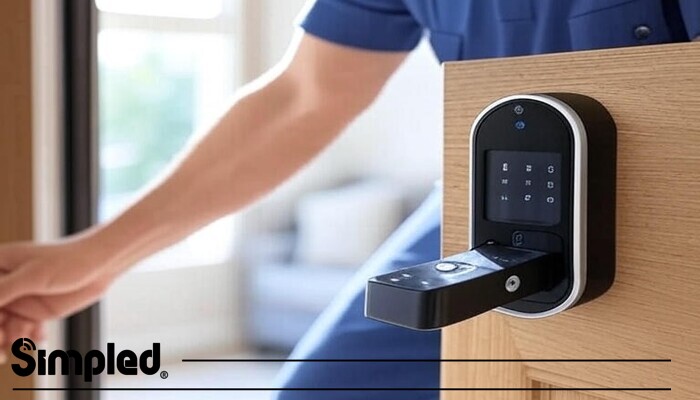
Step 4: Install the Smart Lock Hardware
It is time for the actual installation of your smart lock.
Mounting the Deadbolt or Retrofit Mechanism
Begin by mounting the deadbolt or retrofit mechanism. Insert the deadbolt into the hole and ensure it aligns with the latch mechanism.
Securing the Interior and Exterior Components
Next, attach the interior and exterior components of the lock. Make sure both parts are securely fastened, but be carful not to overtighten the screws, as this could damage the lock.
Step 5: Connect the Smart Lock to Power
Smart locks typically run on batteries, but some may require hardwiring. Here’s how to connect the power.
Battery Installation and Backup Options
Most smart locks use AA batteries or rechargeable battery packs. Insert the batteries as directed in the manual. Many locks feature low-battery alerts, so you’ll always know when to replace them.
Wiring for Hardwired Models
If your smart lock is hardwired, you’ll need to connect it to your home’s electrical system. If you’re unsure about this process, it’s a good idea to consult a professional or the manufacturer to ensure proper installation.
If you encounter any issues during the installation process of the smart lock, you can use the Smart Lock Installation service of the Simpled company.
Step 6: Set Up the Smart Lock App
After the hardware is installed, it’s time to set up the smart lock via the app. This is where you can personalize your settings and connect the lock to your smart home system.
Downloading the Manufacturer’s App
Download the manufacturer’s app from the App Store or Google Play. Follow the instructions in the app to complete the setup process.
Pairing with WiFi or a Smart Hub
To use remote features, you’ll need to connect the lock to your home’s WiFi or a smart hub (like Amazon Alexa or Google Home). This integration allows you to control your lock from anywhere.
Step 7: Test and Calibrate the Smart Lock
Now that the smart lock is installed and connected, it’s time to test and calibrate it.
Testing Lock and Unlock Functions
Test the basic functionality of your lock. Use the app or manual controls to lock and unlock the door. Ensure everything operates smoothly.
Calibrating Auto-Lock and Keyless Entry Features
Smart locks often feature auto-lock and keyless entry options. Follow the app’s instructions to calibrate these features for maximum efficiency.
Configuring Your Smart Lock for Smart Home Integration
One of the best parts of a smart lock is its ability to integrate into your broader smart home ecosystem.
Connecting to Alexa for Voice Control
If you use Amazon Alexa, it’s easy to control your smart lock with voice commands. The app will guide you through the steps to link your smart lock to Alexa.
Setting Up with Google Home or Apple HomeKit
You can also set up your smart lock with Google Home or Apple HomeKit for seamless integration and remote control.
Enabling Advanced Features
Smart locks often come with features like fingerprint recognition, PIN codes, and temporary access codes. These can be configured through the app for extra convenience and security.
Safety and Security Tips for Smart Lock Installation
It’s important to ensure your smart lock is secure and functioning optimally. Follow these tips for enhanced security.
Ensuring Proper Encryption and Authentication
Make sure your smart lock uses robust encryption and authentication methods to protect your data. Many locks use two-factor authentication (2FA) for extra security.
Securing the Lock Against Tampering
Choose a lock with tamper-proof features, such as a sturdy exterior casing, to prevent unauthorized access.
Maintaining Your Smart Lock Post-Installation
Regularly check the lock’s battery level and update the firmware to ensure optimal performance. Periodic maintenance can prolong the life of your smart lock.
How to Install Smart Locks: UK Market Considerations
If you’re in the UK, there are additional considerations to keep in mind when installing your smart lock.
Installing Smart Locks on uPVC and Timber Doors
Smart locks work well with uPVC and timber doors, but it’s essential to check compatibility before purchasing. Make sure the smart lock is suitable for the specific type of door.
Choosing Brands Available in the UK
Top smart lock brands like Simpled, Yale, and Schlage offer great options for UK homeowners. Simpled, for example, integrates seamlessly with various software like TTlock, Remote Lock, and Jervis Systems, offering flexibility depending on your needs.
UK Regulations and Standards for Smart Locks
In the UK, smart locks must comply with regulations like BS 3621, which ensures a high standard of security. Make sure your chosen lock meets these standards for peace of mind.
Conclusion: Mastering How to Install Smart Locks
Installing a smart lock is a straightforward DIY project when you follow the proper steps. Whether you’re upgrading to a high-tech system for convenience or improving your home security, this guide will ensure that you get the job done right. Remember to select a lock that suits your needs and enjoy the peace of mind that comes with modern home security.
With the right tools and knowledge, your new smart lock will integrate seamlessly into your home, offering enhanced convenience, security, and the ability to control your door remotely.


Leave a Reply